There are tons of varieties of Cannabis oil that are sold today that are made specially to treat specific conditions. It’s why you shouldn’t wonder why there are a lot of mix-ups in today’s day and age when it comes to cannabis oil. However, there’s this one specific oil that gained popularity back in the days, it is called Rick Simpson Oil. In this article, we’ll discuss what is Rick Simpson Oil, How to make Rick Simpson Oil, and what it does to our body.
But before we dive-in directly on how to make Rick Simpson Oil, it is important first to know who is Rick Simpson.
Who Is Rick Simpson?
As the Oil name suggests, Yup! He is the maker of the Rick Simpson Oil. Rick Simpson is a very popular person back in the early years of the 2000s. He is a well-known medical marijuana advocate. The creation of Rick Simpson Oil was an attempt to cure his Cancer. Rick Simpson was diagnosed with cancer in the year 2002, metastatic cancer to be precise.
He gathered the idea of making his very own Cannabis oil since medical treatments aren’t helping him at all, there was no success, and the bills piled up too. That made him decide to make his very own THC Oil.
It turns out that the inspiration he gathered for creating his very own THC oil was from a radio show he listened to 30 years ago, it spoke that there’s a possibility that ingesting cannabis oil with high THC concentrations could help heal him. He claimed that within four days of treating himself, he was cured of cancer with no traces. He also stated that he was on remission ever since he treated himself.
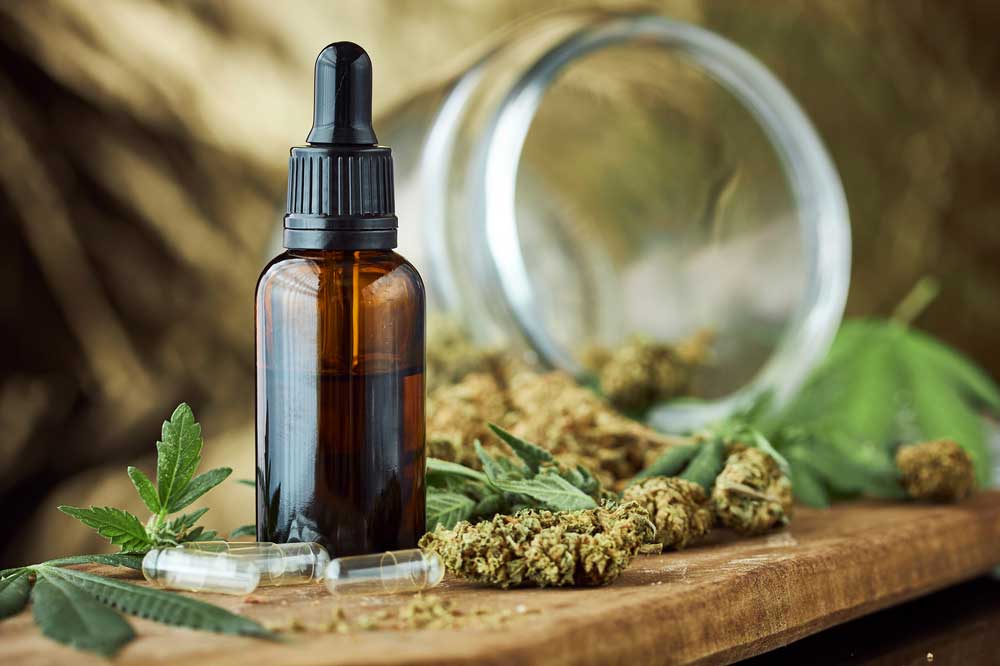
What is Rick Simpson Oil Extract?
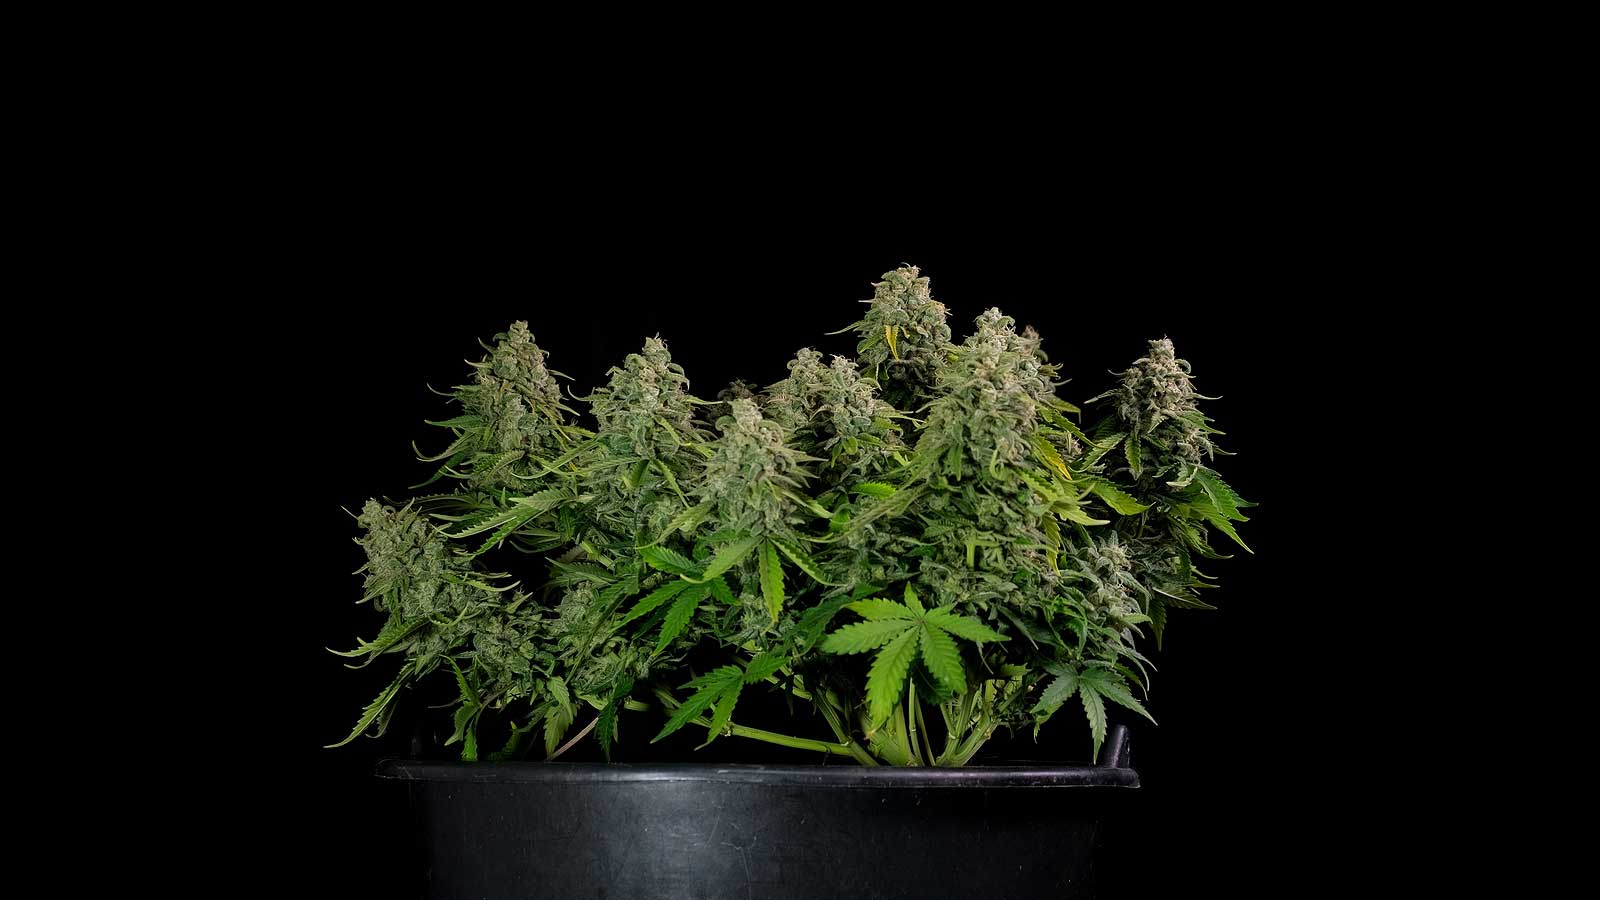
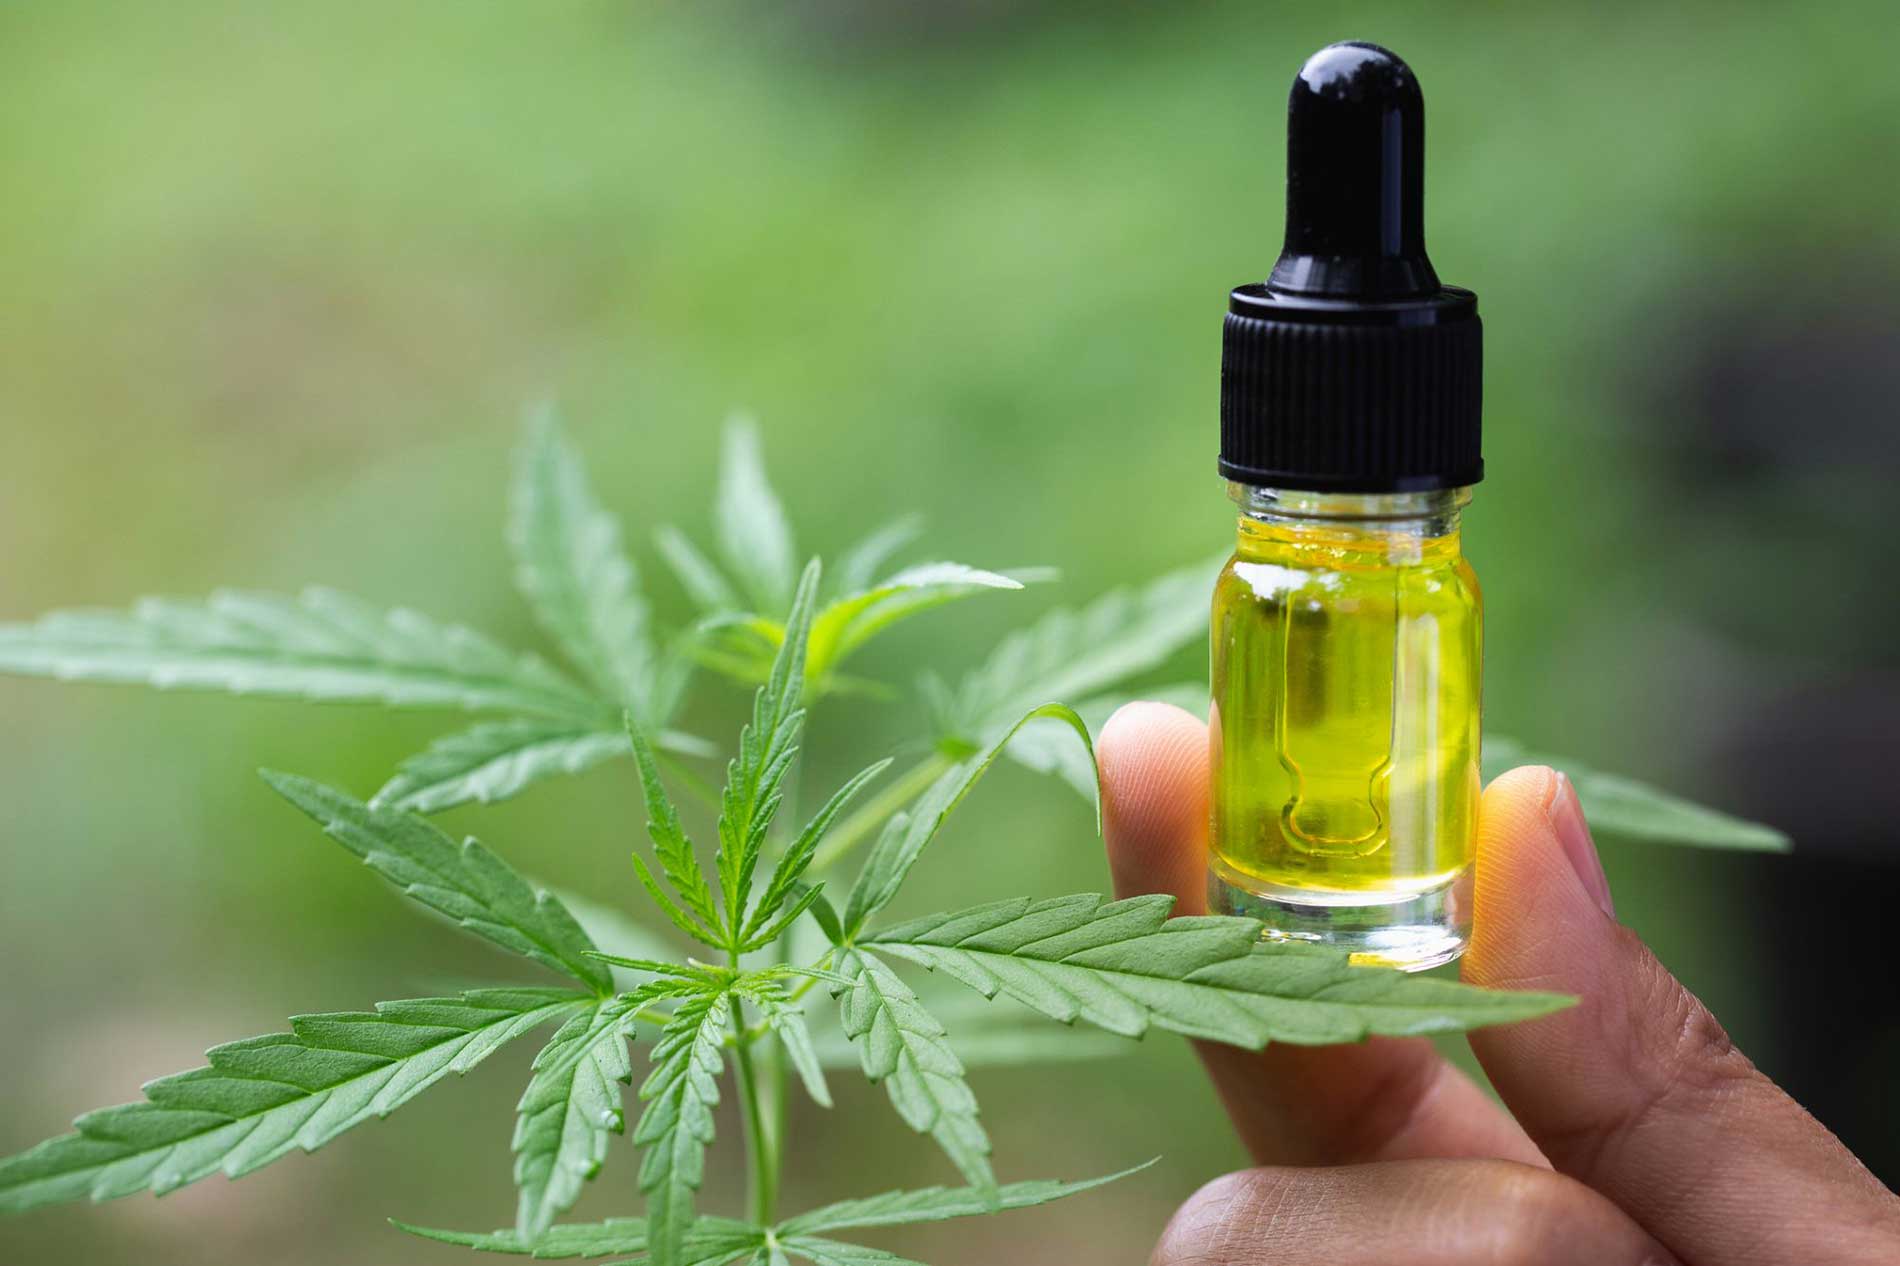
The primary formula of his very own oil extract was made from Pure Indica to Indica dominant strains. Indica is a known marijuana plant that contains staggering contents of THC and CBD. So, in hindsight, it was the fitting choice when trying therapeutic oils, it is also to maximize the overall outcome. Rick Simpson’s method is the extraction of cannabinoids with alcohol, the result will give you a highly concentrated cannabis oil.
Also, the RSO extract is not intended for smoking. It is either taken through edibles or ingests the oil directly. It is because smoking cannabis can irritate the lungs and may have the potential to deliver the same cannabinoids in the same fashion.
Although back in the days it was considered one of the highest concentrated oils in the market. In recent years, and due to the over-popularity of medical marijuana oils, there are tons of recipes that patients use all over the world.
What is Rick Simpson Oil CBD?
CBD RSO is quite the same as with any other made RSO, however – there is only one difference. It is that CBD is extracted from CBD-rich plants like HEMP. CBD-rich plants also have minimal contents of THC.
How to Make Rick Simpson Oil
Making the very popular Rick Simpson oil needs a lot of materials but is quite easy and simple to do as long as you know the basics. To help you, here are the materials needed and procedures on how to make Rick Simpson Oil.
Materials Needed:
- Thermometer
- Gloves
- Syringe
- Strainer
- Grinder
- Stainless steel Container or Plastic container
- Rice Cooker
- Coffee mixer
- Spatula or other Mixing utensils
- 99% Isopropyl Alcohol
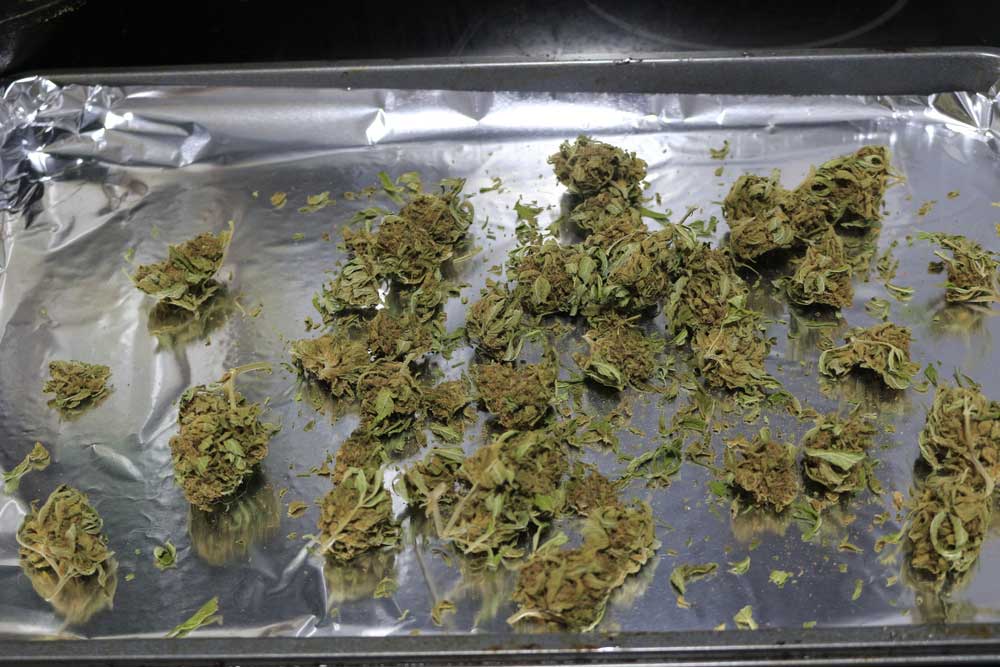
- 1oz of dried Herb
- 2 Plastic Buckets or containers
Procedures:
- If you plan on making 3 to 4 grams of Rick Simpson Oil, you will need around an ounce of dried herb. So, if you plan on making more, be sure to have dried herbs stored in your cabinet. If you want to extract highly-concentrated oil, make sure that for every half pound of cannabis equals to around an ounce of oil.
- Now carefully dump all your cannabis bits onto the plastic container or a bucket, and then slowly pour down the solvent. Make sure that every bit of cannabis is covered with 99% Isopropyl Alcohol. Do your estimations, for every pound of cannabis, will require almost 2 gallons of solvent.
- Now with your spatula or any mixing utensils, you provided, mix everything in the bucket. Crush everything down and see to it that every cannabis bits are well-soaked with the alcohol. Continue the process until you are sure that all of them are evenly mixed. For every 10 minutes, you should mix the ingredients to get all those cannabinoids from the cannabis
- Now pour the mixture on a clean bucket with strainer above it and let the mixture run through the strainer. At this point, if everything is strained, do it again. This is to extract every piece of it onto the new bowl.
- The strained leaves should be put back again onto the first bowl and filled with alcohol again. This is the extract of the remaining cannabinoids out of those leaves. Stir every 5 to 10 minutes. Agitating the mixture helps extract the cannabinoids from the cannabis bits. After mixing, strain them again on-to the bowl with the mixture on it.
- Discard the strained leaves as they are of no use.
- Now that you’ve already gathered your very own highly-concentrated oil, it is the appropriate time to remove the solvent. In doing so, gently fill the rice cooker with the extracts until it is 75% full. Set aside the remaining mixture.
- Once it is ¾ full, turn the rice cooker onto the highest heat setting. Stir the mixture every 10 minutes and add the remaining mixture onto the cooker as the heat slowly cooks out the solvent
- By the time that you noticed that the solvent is gone, this the key time to slow things up and reduce the heat to a minimum. Maintain the heat for around 3 hours. While you are cooking it, add few drops of water to elude scalding. With your thermometer, make sure that the temperature doesn’t exceed the 140celsius mark.
- If you used our recommendation of 75% full prior, then once the mixture is around an inch deeper than before, bring your gloves and slowly pull out the ceramic insert. Using your hands, do a circular motion with the ceramic until the liquid is cooked off by the heat.
- Once you are done with step 10, gently pour the Rick Simpson Oil onto the plastic container then through the coffee maker. This process will take roughly about 1 to 3 hours. This is to ensure that all the remains of the solvent are removed that will leave behind pure cannabis elements that are sure to be enjoyed. You will know when it is done as soon as no bubbles are forming around the surface of the oil once all the solvents are gone.
- When you are done, pour your Rick Simpson Oil from the coffee maker and let it sit until it cools down. Store the oil in a plastic jar or a syringe for easy usage. And you are done!
Conclusion
Cannabis oils have gained popularity over the years due to their numerous uses. Not only that, but they also are quite easy and simple to make, and can be done in your own home. This makes it more important for you to know on how to make Rick Simpson Oil in your house.
We have to thank Rick Simpson for this innovation that paved the way for more development of cannabis oil in recent years. Truly, the unsung hero of the Marijuana world.